Control a Ragdoll Together Checkpoints & Ember Core Guide
Bank every flag, reseat on purpose, and survive stacked hammers and meteors in the finale.
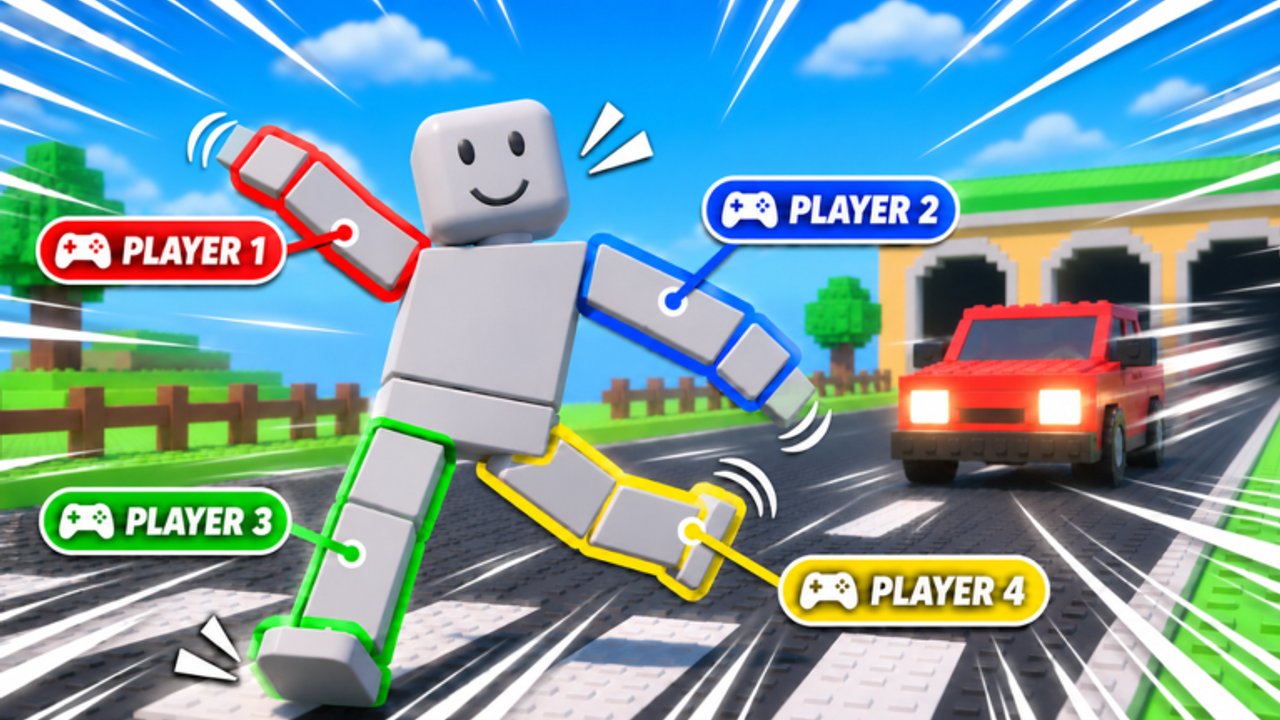
The eight-world climb in Control a Ragdoll Together! is short enough for one loud evening and long enough to punish sloppy saves. Checkpoints are the campaign’s kindness; the Ember Core is where that kindness gets stress-tested. This guide ties everyday flag discipline to endgame strategy: when to reseat, how to handle hammer and meteor stacking, which party sizes make sense for the finale, and how to leave wanting another run instead of a group chat meltdown.
Read the arc overview in the worlds walkthrough and trap inputs in the obstacle guide beside this page. Limb rankings for arm-heavy versus leg-heavy rooms sit on the tier list.
Checkpoint discipline (every world)
Treat each new flag as a ritual, not a speed bump:
- Touch the checkpoint with the whole puppet under control—no trailing limb still mid-jump.
- Call “checkpoint” in chat or voice (external Discord/party chat, since in-experience Voice Chat is not supported).
- Freeze one to five seconds so every player notices the save.
- Reseat only here if the next room changes which limbs matter.
- Scout one hazard cycle before the attempt that counts.
Stacks that sprint off a flag into a hammer they have not watched are donating free wipes. Solo runners should still narrate the ritual to themselves—see solo mode.
When to reseat
Good reseat moments:
- Entering a bar/wall band after a long spike hallway.
- Moving a calm player onto legs before a crush timing room.
- Swapping a lagging friend to a less timing-critical limb.
- After three identical blame popups on the same role (whose fault).
Bad reseat moments:
- Mid-monkey-bar.
- During a meteor strafe.
- As punishment mid-argument.
Reseating is a strategy tool from the players hub, not a humiliation mechanic. Announce the new chart before anyone inputs.
Attempt budgets and tilt breaks
Decide before the scary room: “three tries, then twenty-second hold.” Fatigue creates ghost inputs that the blame UI will happily highlight. After two ugly fails, change one variable only—caller, lead limb, or strafe default—not the entire plan. Co-op tips cover the social side of that rule.
Road into Ember Core
Late worlds compress safe tiles, warm the palette, and stack hazards. Expect falling meteors to share space with hammers, broken bridges, and narrower landings. The fantasy shift is the warning label: when the environment looks hotter and shadows fall faster, tighten callouts and ban freestyle.
Campaign context without spoiling every room lives in the worlds walkthrough. Your job here is operational:
- Bank every late checkpoint even after an “ugly” clear.
- Keep a written or Discord note of the default meteor strafe.
- Assign one caller and optional spotter; mute side banter during wind-ups.
Hammer and meteor stacking
Stacked rooms fail when teams solve three problems with one panicked mash. Segment instead:
Hammers / crushers first
Watch two full swings from the checkpoint. Designate a lead limb (often a leg) for the window. Trailing limbs hold unless a post-hammer grab was planned. Count once: “on the third upswing—3-2-1 go.” Details in the obstacle guide.
Meteors second
Agree a default direction before shadows hit (“first strafe left unless spotter overrides”). Legs own lateral dodges; arms stay idle unless a bridge break needs a grab save. Never invent a new direction mid-air.
Combined beats
Clear the hammer segment, freeze on the safe tile, restate the meteor plan, then pull. Trying to dash and strafe as one improvised flourish is how finales farm blame highlights.
Party size for the finale
| Size | Ember Core fit | Notes |
|---|---|---|
| Solo | Learning layouts | Long resets; great for scouting, hard for stacked timings |
| Duo | Best clarity | One caller, easy ownership; often the sweet spot |
| Trio | Strong if roles explicit | Name who stays silent each beat |
| Four | High ceiling, high chaos | Requires ready checks and strict mute during wind-ups |
Random public fours clear Plains and implode in Ember Core. Premade friends—or at least a Discord stage—raise odds. Tier and seating mood boards: tier list and players.
Finale session plan
Warm-up (10–15 min): Plains or early checkpoint loop to settle inputs (getting started energy).
Approach: Push from the last comfortable mid/late flag; do not “skip” scouting because the group is hyped.
Ember Core block: Attempt budget, one plan, blame review, optional reseat, water break.
Exit criteria: End on a clean segment or a successful warm-up if tilt spikes—leave wanting another night.
Checklist before the final push
- Last checkpoint touched, called, and frozen
- Seating chart announced and matched to the next hazard type
- Caller named; spotter optional
- Hammer watch completed (two cycles)
- Meteor strafe default agreed
- Attempt budget set (e.g., three then break)
- Blame recovery script ready (“read, name, fix, ready”)
- Codes FOMO ignored—codes stays honest; practice wins runs
- No script rabbit holes—scripts is caution, not a shortcut
After a clear—or a near miss
If you clear Ember Core, celebrate, then help a newer friend through Plains without rushing their callouts. If you bounce, log the fail pattern that dominated the night and check updates in case a patch moved a timing window. True mastery is repeating late checkpoints with quieter blame stats, not inventing lore excuses.
Checkpoints turn a comedy ragdoll into a trainable sport. Ember Core is where your rituals get graded. Bank the flags, reseat on purpose, stack hazards one layer at a time, and pick a party size your callouts can actually carry.
Frequently Asked Questions
Quick answers to the most common questions.
When should we reseat limbs?
Only at checkpoints—never mid-hazard. Reseat when the next room changes valuable limbs, after repeated blame on one role, or to move a lagging player to an easier seat.
What party size is best for Ember Core?
A disciplined duo is often the sweet spot. Four works with strict callouts; solo is better for learning layouts than for stacked finale timings.
How do we handle hammers and meteors in the same room?
Segment the room: clear the hammer window, freeze on a safe tile, restate the meteor strafe plan, then continue. Do not freestyle both at once.
Why pause after touching a checkpoint?
A short freeze makes sure every limb owner notices the save, prevents sprinting into unscouting hazards, and creates space to reseat or restate the plan.
Should we keep pushing on tilt near the finale?
No. Use an attempt budget, take a twenty-second hold after two ugly fails, and end on a clean warm-up if morale breaks.
Where can I read more about late-world hazards?
Use the Worlds Walkthrough for campaign feel, the Obstacle Guide for inputs, and the Tier List for seating priorities.